Sunday 25 May 2014

Accessing your VirtualBox localy

Hi there, following on from VirtualBox networking. The next thing we need is to allow for easy sharing of files between the host and guest. Now we could use something like FTP or samba. However VirtualBox provides a built in feature to map a Host folder on to the guest file system. I will be honest its a bit tricky to get working, but hopefully this post should help.

So there are 4 steps to do this.
  1. Select the folder to share
  2. Install packages needed by VirtualBox
  3. Install VirtualBox's guest tools
  4. Mount the shared folder
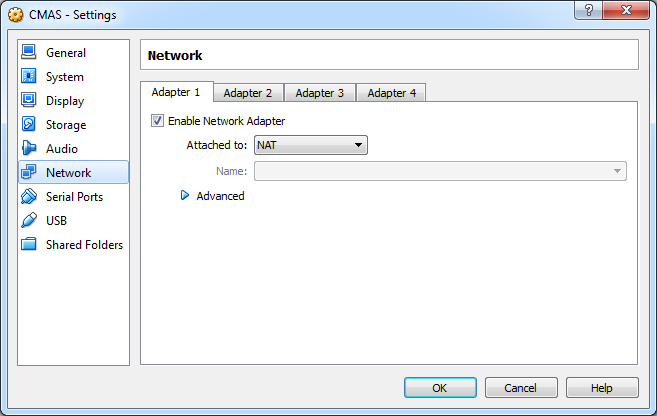
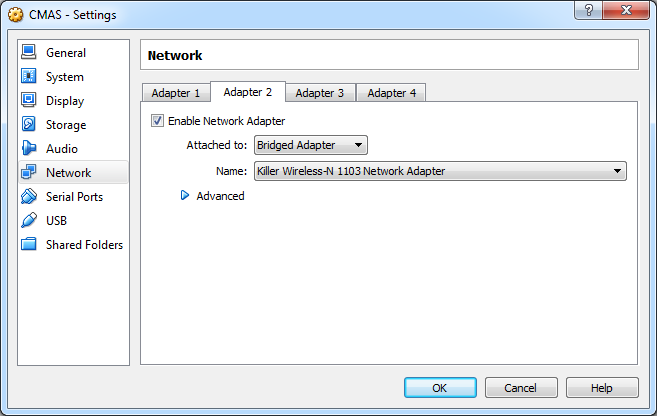
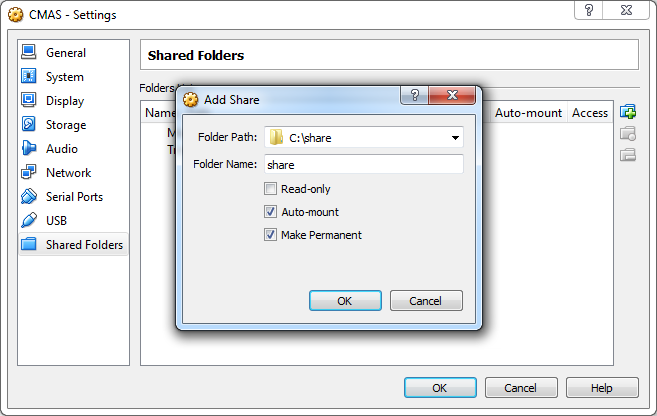
From the main screen.
VirtualBox: mainScreen
Open the settings
Settings/SharedFolder
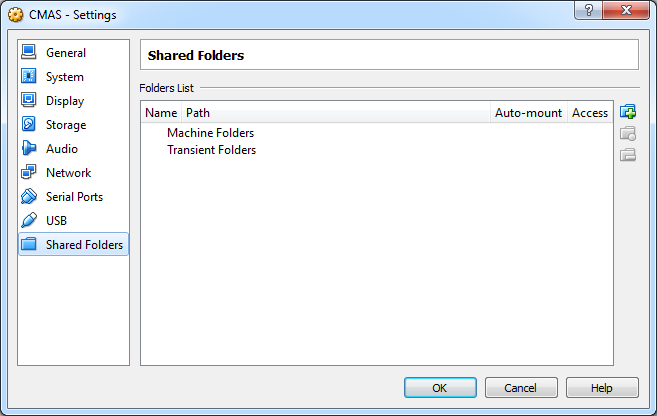
Click the Add icon. To add a pointer to your local folder that you want to share.
Add Share
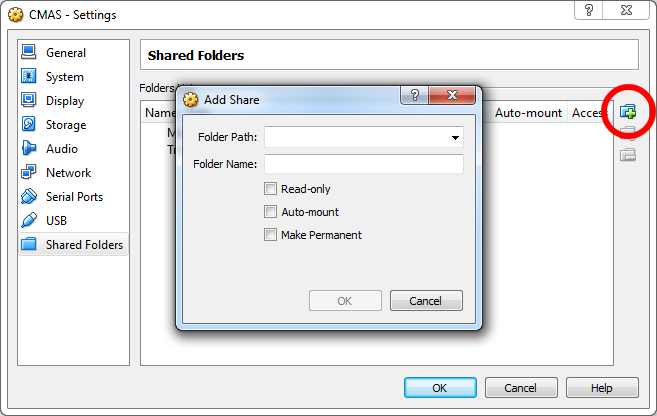
Select your folder, check "Auto-mount" & "Make Permanent"
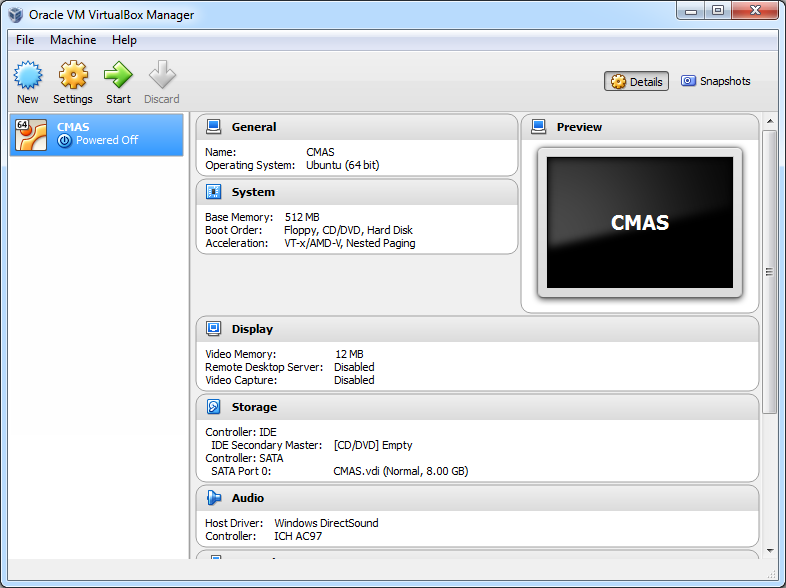
Add Share + info

now fire up your VM

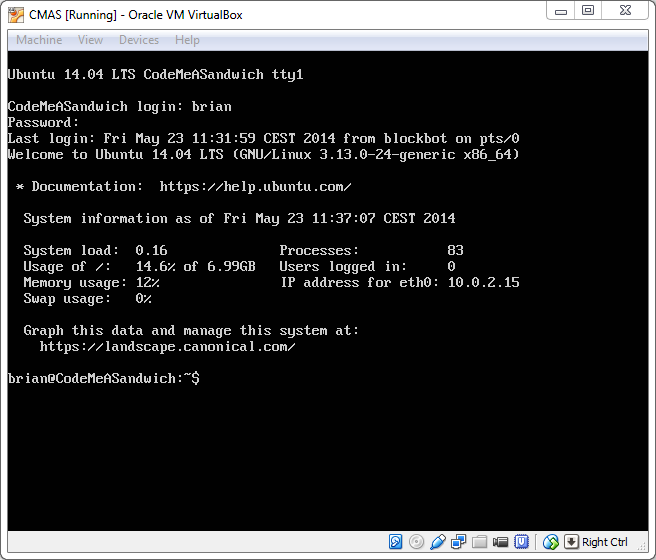
Now, if we check are share in the bottom of the window


Ok. Before we install the "Guest tools" we need to install some required packages
sudo apt-get update

sudo apt-get install make

sudo apt-get install gcc

sudo apt-get install dkms


Now we need to attach the "Guest Tool" installer image. Its very easy

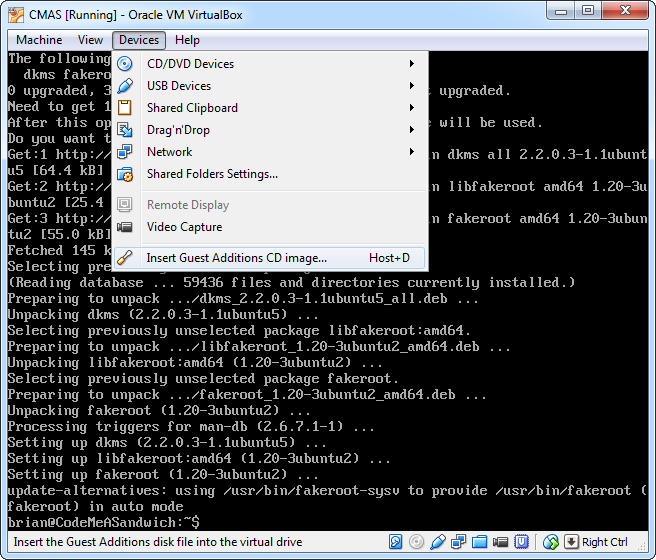
After you have click it. You won't get a prompt.
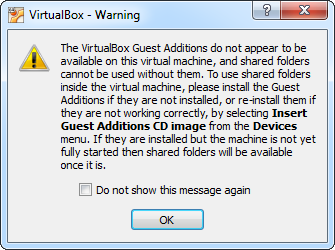
If you may get something like this

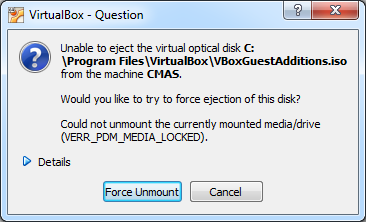
Just press "Force Unmount"
Now mount the "Guest Tool" image
sudo mount /dev/cdrom /mnt

Next to to run the installer for Linux
sudo /mnt/VBoxLinuxAdditions.run

Make the folder we want to map into
sudo mkdir /remoteShare

This will take the shared folder on the host machine mirror it to the guest folder. *remember you refer to host folder by its alias.
sudo mount.vboxsf myShare /remoteShare

Now you can move in to the folder
cd /remoteShare/

If you have added some files locally. you can see them with the 'ls' command
ls -l


All done.
... continue reading!

Saturday 24 May 2014

Getting VirtualBox Wired

Hello boys & girls. One think people my not know about me, is I love using VirtualBox as my test environment. In a nutshell: It allows you to simulate your production environment for testing your code. All without too much hassle.

So, in this post I'm going to go over a simple thing you will need, and that is to give your VM access to the Internet + network access to talk to your host.

let's dive in. For this example I'm running Windows 7 as the host and Ubuntu 14 as the guest. I'm not going to cover installing Ubuntu in this guide, but I'm sure you can find some help DuckDuckGo: Installing ubuntu on VirtualBox ^_^

Before starting the VM we will need to make a small change to the VM's settings. Because of VirtualBox internal architecture it requires two network cards in order to connect to the WAN(internet) and also connect to the host. As it will be convenient to be able to do both at the same time.. we have to do the following.

Open VirtualBox
VirtualBox's mainScreen
From the main screen to go "Settings"
Now open the 2nd adapter tab.
Check "Enable Network Adapter" and select "Bridged Adapter" as the "Attached to"

Now we can fire-up your VM.
First, let's take a look at what network interfaces are already set up.
Enter the ifconfig command

brian@CodeMeASandwich:$ ifconfig
eth0 Link encap:Ethernet HWaddr 08:00:27:fa:##:##
inet addr:10.0.2.15 Bcast:10.0.2.255 Mask 255.255.255.0
inet6 addr: f680::a00:27ff:fefa:46e8/64 Scope:Link
UP BROADCAST RUNNING MULTICAST MTU:1500 Metric 1
RX packets:26 errors:0 dropped:0 0uerruns:0 frame:0
TX packets:34 errors:0 dropped:0 0uerruns:0 carrier:0
collisions:0 txqueuelen:1000
RX bytes:3483 (3.4 KB) TX bytes:3398 (3.3 KB)

lo Link encap:Local Loopback
inet addr:127.0.0.1 Mask Z55.0.0.0
inet6 addr: ::1/128 Scope:Host
UP LOOPBACK RUNNING MTU 65536 Metric 1
RX packets 0 errors:0 dropped:0 0uerruns:0 frame:0
TX packets 0 errors:0 dropped:0 0uerruns:0 carrier:0
collisions: 0 txqueuelen:0
RX byte$:0 (0.0 B) TX bytes:0 (0.0 B)


Here we see that there are two interfaces. eht0 is giving access to the WAN.. and lo is to allow the OS(here Ubuntu) to send messages to itself, because that's just what computers want to do sometimes.

Now we need to update the network interface file. To let the OS know there a new network available.

brian@CodeMeASandwich:~$ sudo vim /etc/network/interfaces
[sudo] password for brian:

Go to the bottom of the file and add the two lines:
auto eth1
iface eth1 inet dhcp


# This file describes the network interfaces available on your system
# and how to activate them. For more information, see interfaces(5).

# The loopbaek network interfaee

auto lo
iface lo inet loopback

# The primary network interface
auto eth0
iface eth0 inet dhcp

auto eth1
iface eth1 inet dhcp

let's save the file. Press Ctrl-C to switch out of insert mode. then type "wq" *wright & quit

:wq

Now restart the network service with "sudo ifdown eth1 && sudo ifup eth1"

brian@CodeMeASandwich:~$ sudo ifdown eth1 && sudo ifup eth1
ifdown: interface ethl not configured Internet Systems Consortium DHCP Client 4.2.4 Copyright 2004-2012 Internet Systems Consortium. fill rights reserved. For info, please visit https://www.isc.org/software/dhcp/

Listening on
Sending on
Sending on
LPF/ethl/08:00:27:98:##:##
Socket/fallback
DHCPREQUEST of 192.168.2.196 on ethl to 255.255.255.255 port 67 (xid=0x4596####) DHCPHCK of 192.168.2.196 from 192.168.2.1 bound to 192.168.2.196 -- renewal in 33968 seconds.

This should be quick. Lets see if our new interface was added.

brian@CodeMeASandwich:$ ifconfig
eth0 Link encap:Ethernet HWaddr 08:00:27:fa:##:##
inet addr:10.0.2.15 Bcast:10.0.2.255 Mask 255.255.255.0
inet6 addr: f680::a00:27ff:fefa:46e8/64 Scope:Link
UP BROADCAST RUNNING MULTICAST MTU:1500 Metric 1
RX packets:26 errors:0 dropped:0 0uerruns:0 frame:0
TX packets:34 errors:0 dropped:0 0uerruns:0 carrier:0
collisions:0 txqueuelen:1000
RX bytes:3483 (3.4 KB) TX bytes:3398 (3.3 KB)

ethl Link encap:Ethernet HWaddr 08:00:27:fa:##:##
inet addr:192.168.2.196 Bcast:192.168.2.255 Mask 255.255.255.0
inet6 addr: fe80::a00:27ff:fe98:c3bc/64 Scope:Link
UP BROADCAST RUNNING MULTICAST MTU:1500 Metric 1
RX packets:26 errors:0 dropped:0 0uerruns:0 frame:0
TX packets:34 errors:0 dropped:0 0uerruns:0 carrier:0
collisions:0 txqueuelen:1000
RX bytes:251203 (251.2 KB) TX bytes:1462 (1.4 KB)

lo Link encap:Local Loopback
inet addr:127.0.0.1 Mask 255.0.0.0
inet6 addr: ::1/128 Scope:Host
UP LOOPBACK RUNNING MTU 65536 Metric 1
RX packets 0 errors:0 dropped:0 0uerruns:0 frame:0
TX packets 0 errors:0 dropped:0 0uerruns:0 carrier:0
collisions: 0 txqueuelen:0
RX byte$:0 (0.0 B) TX bytes:0 (0.0 B)

And that's it! Do. You can now connect to your guest OS locally & it will also have access to the web.

... continue reading!